Getting started
Create an account and publish your first form.
1. Create an account
Sign up with your email address. An organization is created automatically. It holds your projects, forms, submissions and team members. You can create more organizations later (one per client, for example) from My account → My organizations.
The Free plan is free with no time limit. You can change plans at any time from Manage the organization → Billing.
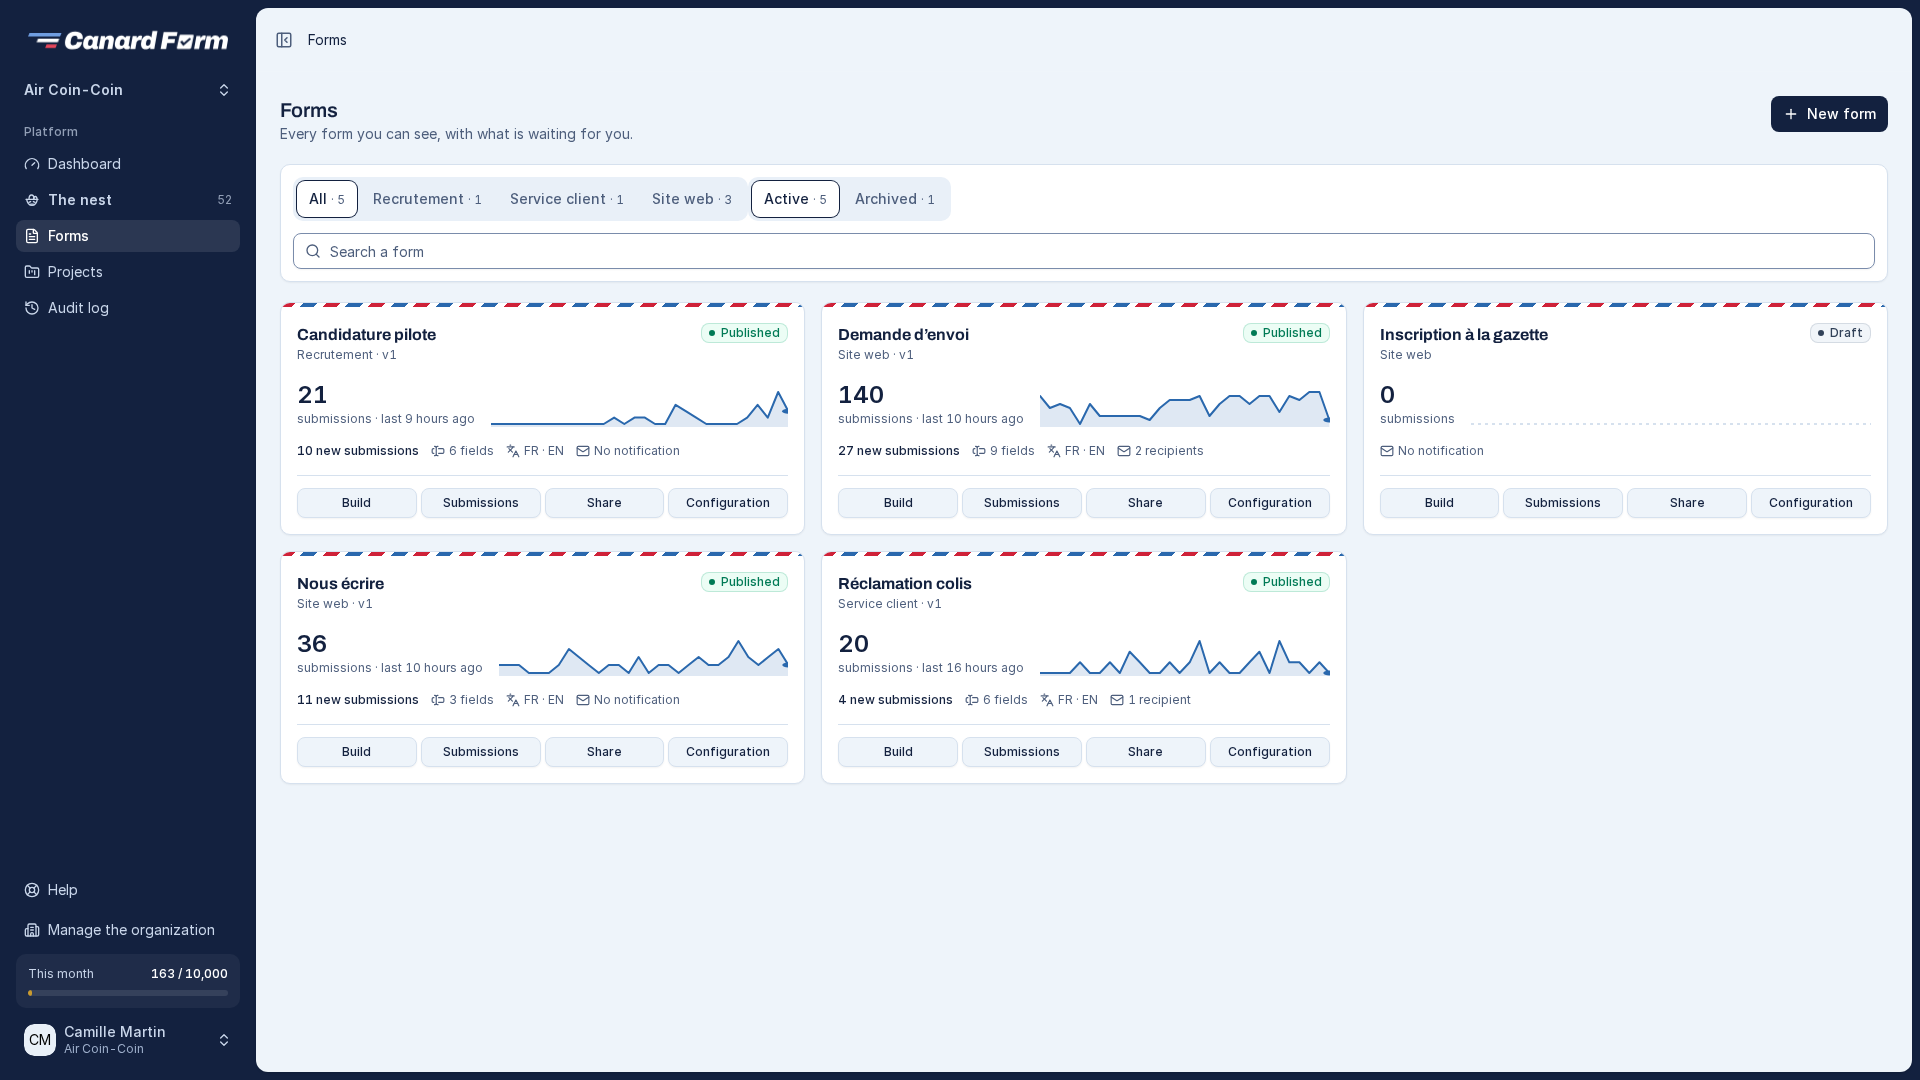
2. Create a project and a form
A project groups forms together (for example "Website", "Hiring", "Events").
- Open Forms and click New form.
- Choose the project.
- Start from a blank page or from a template (contact, quote request, registration…).
3. Add questions
The editor opens on the Build tab:
- On the left, Add a field: short text, paragraph, email, phone, date, choices, file upload…
- In the middle, a preview of the form as your visitors will see it.
- On the right, the settings of the selected field (label, required, help, width…).
Changes are saved automatically. You can close the page without losing anything.
4. Choose who gets notified
In Configuration → Notifications, add the addresses that receive an email for each submission. By default, this is your address.
5. Publish the form
Click Publish. The form is live. The Share window shows its link, which you can send by email, post on social media or add to your website.
Later changes stay in a draft until you click Publish changes. Your visitors never see a form while you are editing it.
Next steps
The Getting started guide, at the bottom right of the screen, checks off completed steps and shows the next one.